 Courtesy of Margaret K. PhotographySave this storySave this story
If I were to use one word to describe my first attempt at applying makeup, it would be “racoon-core.” I was in middle school, and I’d swept on way too much eyeliner and mascara. Over the years, I refined my technique (with the help of YouTube videos by Jackie Aina and MakeupShayla), but one thing I still hadn’t figured out was the best order in which to apply the products.
There was really no rhyme or reason to my makeup routine, just vibes—and Celia Burton, a London-based makeup artist for Glossier, has co-signed that creative approach. “I don't really believe in a prescribed order of makeup, because it varies depending on the look you're going for,” she says.
If you’re looking for suggestions, though, brand founder and makeup artist Lisa Eldridge, Charlotte Tilbury makeup artist Tim Pagan, Hourglass Cosmetics makeup artist Adam Sidwell, and makeup artists Katie Jane Hughes, Kay Jones and, Maya René have a few pointers on how to do your makeup so that it looks seamless and lasts.
Jones showed me some of these tips first-hand on my wedding day; I’d asked for a look that would damn-near stop traffic with radiance and last all night (I didn’t think I could get by on “vibes” alone for the big day).
 Courtesy of Kay Jones
The results were much better than I’d expected. Read on for the best order to apply each of these products and why.
Step 1: Primer

Charlotte Tilbury
Invisible UV Flawless Poreless Primer
Amazon
Nordstrom
Ulta Beauty

E.L.F. Cosmetics
Liquid Poreless Putty Primer
Amazon
Ulta Beauty

Hourglass
Veil Mineral Primer
Amazon
Nordstrom
Ulta Beauty
Before reaching for any makeup products, you’re going to want to cleanse your skin, then make sure it’s moisturized and protected with a lightweight SPF. After you’ve done that, primer should be your next step. “It’s the ultimate insurance policy, allowing makeup to stay intact as you go about your day,” says Sidwell, a makeup artist for Hourglass Cosmetics.
A dime-sized drop is all you need when applying primer. René, a New York City-based makeup artist, likes to use her fingertips for application; but if you’ve got a silicone-based primer (these are usually mattifying), she suggests using a “flat synthetic brush,” as the texture can be more difficult to blend evenly with fingers.
When shopping for a primer, experts recommend lightweight formulas that offer an added benefit to your makeup. Primers can be radiance-boosting, blurring, color-correcting, and more. Some primers, like the Charlotte Tilbury Invisible UV Flawless Poreless Primer, even offer sun protection. “Some SPFs emulsify my complexion products,” says Allure senior beauty editor Jesa Marie Calaor, “but this one preps my skin, making it appear even and more radiant.”
I reach for the e.l.f. Liquid Putty Primer when I want a more mattifying effect (without the dryness), and the Hourglass Veil Mineral Primer always gives me a pretty glow before makeup application.
Step 2: Liquid highlighter

Beautyblender
Makeup Sponge
Amazon
Nordstrom
Dermstore

Benefit Cosmetics
Dew-La-La Liquid Glow Highlighter
Nordstrom
Revolve
Ulta Beauty
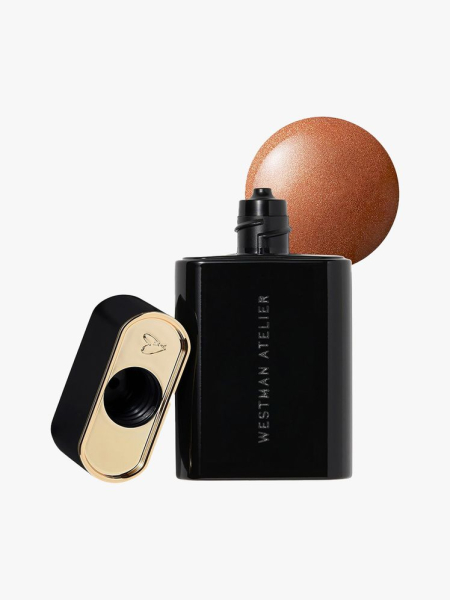
Westman Atelier
Liquid Super Loaded All-Over Illuminator Drops
Nordstrom
Credo Beauty
Sephora
If you're going for a more radiant finish, Pagan and Eldridge suggest applying liquid highlighter immediately after doing your primer, lightly dabbing it along the high points of your face and blending it with a wet sponge, like the Best of Beauty-winning Beautyblender Original Makeup Sponge. Doing so helps you “achieve a ‘lit from within’ glow that shines through your base products,” says Eldridge.
I love the Benefit Cosmetics Dew-la-la Liquid Glow Highlighter and the Westman Atelier Liquid Super Loaded All-Over Illuminating Highlighter with Vitamin C because they both have blendable, lightweight formulas that glide easily over skin, or make a great glow booster when added to moisturizer for skin prep.
Step 3: Eye makeup and false lashes
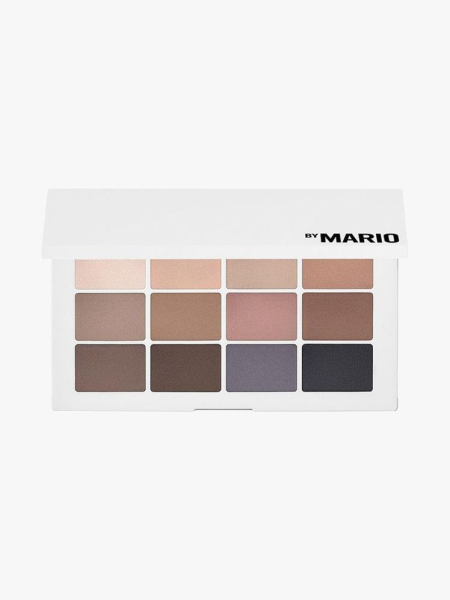
Makeup by Mario
Master Mattes Eye Shadow Palette: The Neutrals
Sephora
Kohl's
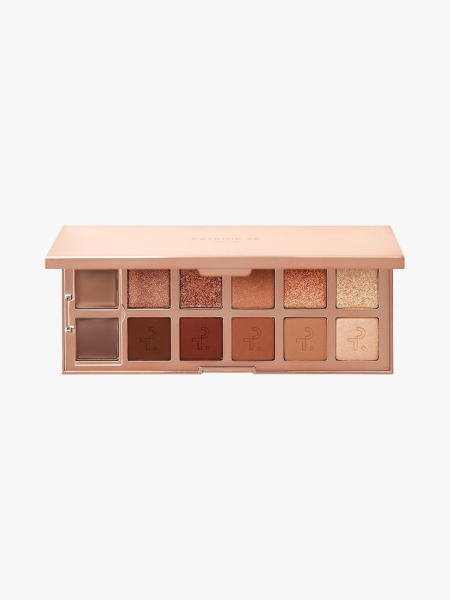
Patrick Ta
Major Dimension Eyeshadow Palette
Sephora
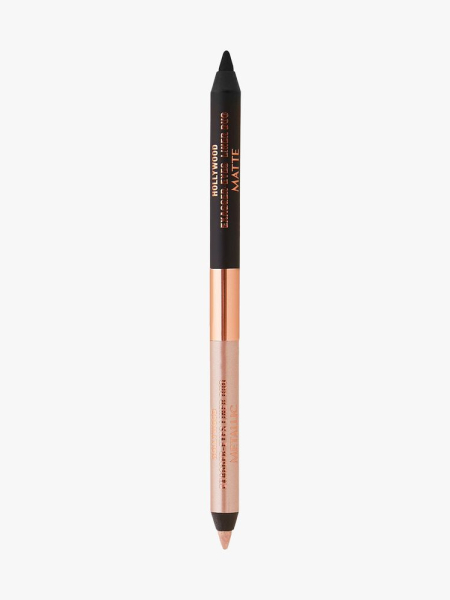
Charlotte Tilbury
Matte & Metallic Double Ended Eyeliner
Amazon
Nordstrom
Ulta Beauty
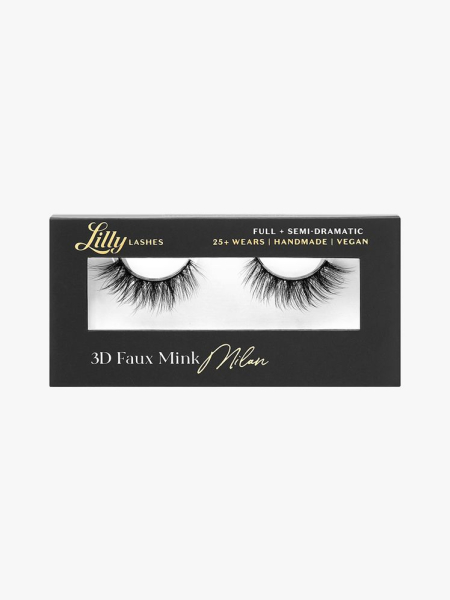
Lilly Lashes
3D Faux Mink Lashes
Ulta Beauty
Sephora
It might feel counterintuitive to start your eye makeup before finishing your complexion, but our experts agree: If you choose to create an eye look with shadow, liner, or false lashes, the best time to do so is at the beginning—and in that order. This is because, explains Burton, eye products can mix with your base and start to emulsify.
Adds Pagan, powder shadows can also fall onto your cheeks, prompting you to wipe everything off. It’s hard to “just dust off” after you’ve applied layers of creams and powders.
Liner gets applied after shadows and before false lashes because it “hides the false lash band, [giving it] something to blend into,” says René.
I don’t often do a full-glam eye look, but when I do, I sweep on shades from the Makeup By Mario Master Mattes Palette and Patrick Ta Major Dimensions Eyeshadow Palette—the powders are so blendable. Then I add a flick of Charlotte Tilbury Matte & Metallic Double-Ended Eyeliner and carefully apply faux lashes, like the dramatic Lilly Lashes 3D Faux Mink Lashes.
Step 4: Liquid or cream foundation
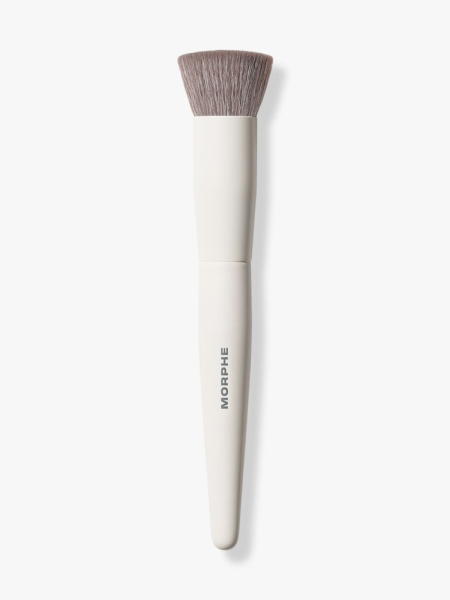
Morphe
M106 Flat-Topped Cream & Liquid Foundation Brush
Ulta Beauty

Charlotte Tilbury
Airbrush Flawless Foundation
Amazon
Nordstrom
Ulta Beauty
“Foundation creates a veil across your skin, evening out your skin tone, so you can use less concealer,” says Pagan. You’re going to want to apply your liquid or cream formula with a wide, flat-top brush that has densely packed bristles, like the Morphe M106 Flat-Topped Cream & Liquid Foundation Brush.
“Typically, I find sponges absorb so much of the product so I don’t get as much coverage as I want,” says René. “A brush gives me more control, then I can go back in and stipple with a damp sponge to remove any streaks and really press in the product for a natural skin-like finish.”
“Overdoing foundation is a common mistake and one best avoided so your makeup doesn’t look cakey,” says makeup artist Sage Adi, known as Sage Makeup on social media. To avoid applying too much foundation, Adi recommends, dab it onto any spots or textured areas you want to cover and blend it out there first. If you still need more coverage, add one more pump to your working surface (back of your hand or palette), then buff it out a bit before swiping it all over your face.
I usually reach for the Charlotte Tilbury Airbrush Flawless Foundation, which has a buildable texture that’s easy to work with. I rarely overdo it with this formula, but if I do, René says using a damp sponge after the initial foundation application is a great way to course-correct.
Step 5: Concealer

Danessa Myricks Beauty
Yummy Skin Lift & Flex Concealer
Sephora
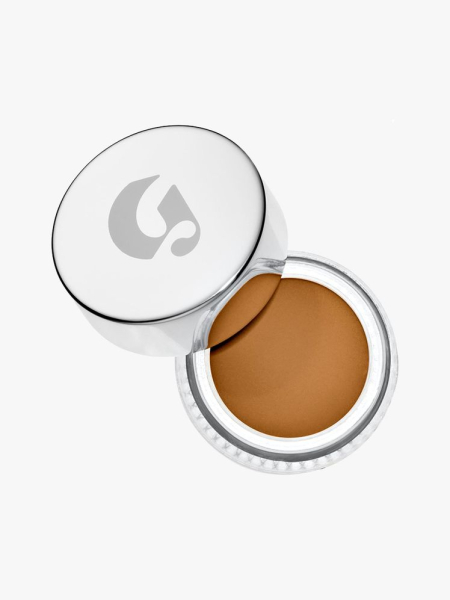
Glossier
Glossier Stretch Concealer
Glossier
Sephora
After your foundation is blended, Pagan suggests, apply concealer gradually; since it tends to be thicker, concealer can be less forgiving and harder to work with than foundation. Eldridge likes to apply minimal concealer to the areas she wants to brighten, like the undereyes.
Keep two concealers on hand: a hydrating formula (like the Danessa Myricks Yummy Skin Lift & Flex Concealer) in a shade that’s slightly warmer than your skin tone to cancel out discoloration; and a creamy formula with a satin finish (like the Glossier Stretch Concealer) that’s a few shades lighter than your complexion to brighten. Eldridge recommends using your fingertips (for natural glam) or a small brush (for full glam) to buff the concealer into the skin.
Another tip from Eldridge worth heeding: “Don’t apply the concealer in a circle over the [eye] area. Keep the edges rough, as it will help with blending and will make the concealer look more seamless.”
Step 6: Cream contour
LYS Beauty
No Limits Cream Bronzer and Contour Stick
Sephora
Credo Beauty
Saie
Sun Melt Natural Cream Bronzer
Amazon
Sephora
Saie
Cream contour and blush are interchangeable, but, Pagan says, “it’s better to create shadows with contour before adding color with blush.” Experts generally agree.
Eldridge and Burton both offer this rule of thumb: cream before powder. “By working in this way, you can create beautiful layers,” says Burton. “If you were to use a cream product, then add powder, and then go back to cream again, you risk ending up with a sort of paste-like barrier, which can leave the makeup looking cakey and artificial.”
I love the LYS No Limits Cream Contour & Bronzer Stick for when I’m doing a rush makeup job—the stick applicator makes it easy to contour quickly. When I have a bit more time, though, I’ve found that the Saie Sun Melt Natural Cream Bronzer, when thoroughly buffed in, creates a natural-looking sculpt.
Step 7: Cream blush
Rare Beauty
Soft Pinch Liquid Blush
Sephora
Rhode
Pocket Blush
Sephora
Rhode
BeautyTok has shown us many ways to apply cream blush. Sunburnt blush focuses the color in the very center of your face for a just-tanned effect, while the doll-blush trend places it on the apples of cheeks for a smooth look. Experiment with different placements to find the one that best suits your face. In general, though, Sidwell recommends “adding blush to the outer apples of the cheeks and blending toward the center of the ear.”
I love the sunburnt blush look. Obviously, I’m less a fan of actual sunburn (as mentioned above, remember to include SPF in your beauty routine), and since I don’t aspire to achieve reddened cheeks the old-fashioned way, I use the Rare Beauty Soft Pinch Liquid Blush (a pigment-packed liquid) or the Rhode Pocket Blush Buildable Hydrating Cream Blush (an easy-to-blend stick formula).
Step 8: Setting powder
Charlotte Tilbury
Airbrush Flawless Finish Powder
Amazon
Nordstrom
Ulta Beauty
Huda Beauty
Easy Bake Loose Baking & Setting Powder
Sephora
To lock in your hard work so far, grab a setting powder (loose or pressed), a fluffy brush, and a makeup puff. Says Pagan, “I like to lightly sweep the Charlotte Tilbury Airbrush Flawless Finish Refillable Blurring & Setting Powder under the eyes and T-zone with a brush first, then press the powder with a puff under eyes and spots prone to oiliness to seal and mattify.”
If you prefer a loose powder, I recommend the Huda Beauty Easy Bake Blurring Loose Baking & Setting Powder, which always gives my makeup a filter-like finish.
Step 9: Powder blush

Patrick Ta
Major Headlines Double-Take Creme & Powder Blush Duo
Sephora
Kohl's
Juvia's Place
Blushed Duo
Ulta Beauty
Juvia's Place
This is where you can apply a powder blush if you so choose—which, you should! “Powder blush today is very different from what it was years ago,” says Eldridge, who explains that modern formulas are easier to blend and layer—with each other and with cream blushes—“creating beautiful volume.”
Pagan suggests sweeping on your powder blush with a medium-sized, fluffy brush, focusing on the areas where you applied cream blush to reinforce the pigment. The Patrick Ta Major Headlines Double-Take Crème & Powder Blush Duo and Juvia's Place Blush Duo are two powder blushes that get me very excited for this step because I know the pigmented palettes deliver beautiful color.
Step 10: Powder highlighter
Danessa Myricks Beauty
Yummy Skin Blurring Balm Powder Lowlighter Soft Glow Highlighter
Sephora
Makeup by Mario
SoftSculpt Transforming Skin Perfector
Sephora
This is also where you can add a powder highlighter for that extra glow. Admittedly, I haven’t used a powder highlighter since I hoarded the Anastasia Beverly Hills Glow Palettes in high school, but experts say this is an extra step that can make all the difference. Powder highlighter is typically swept on with a thin fan brush for more precise application, but if you want a more diffused shine, you can use a fluffy blush.
Since experimenting with adding this step back into my makeup routine, I’ve been loving the Danessa Myricks Beauty Yummy Skin Blurring Balm Powder Lowlighter Soft Glow Highlighter—a balm texture that applies as a powder, adding a subtle touch of warmth and glow. Allure social media manager Bianca Richards loves the Makeup By Mario SoftSculpt Transforming Skin Perfector—a three-in-one powder that blurs, sets, and highlights. “It's a bronzer and highlighter all in one,” says Richards. “It's truly just a magical little powder compact.”
Step 11: Brows
Sephora Collection
Retractable Eyebrow Pencil
Sephora
Anastasia Beverly Hills
Brow Wiz
Amazon
Nordstrom
Ulta Beauty
Makeup artists say the last few steps—brows, lashes, lips—can happen in any order, but most work from the top of the face down, before setting everything in place.
“My favorite tip for good brows is to begin by brushing them down [with a spoolie],” says Eldridge. Then use a fine-tip brow pencil, like the Sephora Collection Retractable Eyebrow Pencil, to sketch your desired shape with light, hair-like strokes. Finally, brush them back and clean up any unnatural-looking edges.
I’ve been rocking with the Anastasia Beverly Hills Brow Wiz Ultra-Slim Precision Detailing Eyebrow Pencil since college. I still take it out every time I sit down to do my makeup because the fine tip and spoolie make it so easy to fill in my brows.
Step: 12 Mascara
Benefit Cosmetics
Fan Fest Fanning & Volumizing Mascara
Nordstrom
Ulta Beauty
Sephora
Merit Beauty
Clean Lash
Sephora
Merit Beauty
If you’re applying mascara, Eldridge recommends, curl your lashes before for an ultra-fluttery look. Then place a compact mirror under your chin; Katie Jane Hughes says doing so gives you the best angle for applying mascara.
As someone who doesn't wear mascara often (out of laziness), this tip—plus great mascaras like the Benefit Cosmetics Fan Fest Fanning & Volumizing Mascara and Merit Clean Lash Lengthening Tubing Mascara—has made me a convert.
Step 13: Lips
Make Up For Ever
Artist Color Eye, Lip & Brow Pencil
Nordstrom
Sephora
MAC
M·A·Cximal Silky Matte Lipstick
Nordstrom
Ulta Beauty

Fenty Beauty
Gloss Bomb Ice Cooling Lip Luminizer
Ulta Beauty
Sephora
For years I watched beauty creators on YouTube outline their lips before filling them in with lipstick or gloss. But Eldridge co-signs a tip I learned two years ago from makeup artist Ash K Holm: “Apply your chosen lipstick in a very thin layer, really working and rubbing it into your lips,” Eldridge explains. “Next, use your lip pencil to define and enhance your preferred lip shape, buffing the pencil over the lip as you go.” Top your lip combo with a clear gloss.
My current go-to lip combo is the Make Up For Ever Artist Color Pencil in dark brown to line my lips, the MAC M·A·Cximal Silky Matte Lipstick in Kinda Sexy in the middle of my lips, topped with the Fenty Beauty Gloss Bomb Ice Cooling Lip Gloss.
Step 14: Setting spray
One/Size
On 'Til Dawn Mattifying Waterproof Setting Spray
Sephora
Finally! By this point, your face should look like a masterpiece; all that’s left to do is lock in your hard work with a setting spray. A lightly misted layer “will melt all the layers together and give the makeup a radiant, long-lasting finish,” says Sidwell.
For my wedding day, Jones used the One/Size by Patrick Starrr On 'Til Dawn Mattifying Waterproof Setting Spray, which didn’t budge, even after I bawled my eyes out at the altar.
Meet the experts:
LargeChevron
- Sage Adi is a New York-based makeup artist.
- Celia Burton is a London-based makeup artist for Glossier.
- Lisa Eldridge is a global makeup artist and founder of Lisa Eldridge Beauty.
- Katie Jane Hughes is British makeup artist based in New York City.
- Kay Jones is a New Jersey-based bridal makeup artist.
- Tim Pagan is a New York City and New Jersey-based makeup artist for Charlotte Tilbury.
- Maya René is a New York-based makeup artist.
- Adam Sidwell is a New York-based makeup artist for Hourglass Cosmetics.